DIVISIONS OF LIGHT : PART-2 aka HARD & RIM & LOOP LIGHT.
In the immediately previous blog, we got to know the divisions of light based on the direction of light. And we have encountered that how the light effected the quality of the picture. Sometimes, it made our picture smooth, and sometimes as a black body and sometimes as a smooth textured subject.
Based on the light direction and light intensity, light is classified/divided into so many types. Until now we have seen front, back and soft light. And we got to know where to use each of them. So with that being said, let's start DIVISIONS OF LIGHT PART-2 aka HARD & RIM & LOOP LIGHT.
HARD LIGHT :
We already discussed a few points about this in the immediately previous blog. But let's discuss it in detail here. Hard light is used when you want to emphasize texture and structure of your subject. Hard light creates sharp shadows. Also the umbra region is sharp and there is very less penumbra region. We can easily detect penumbra region. It cannot able to hide any details because the intensity of the hard light is more.


In the first picture, you can observe the difference in the structure due to the change in nature of light. Because of the hard light, the structure of blub is accurately seen. Whereas in the case of the soft light, the entire bub looks smooth due to the soft nature of the light.
In the second, the picture itself has the explanation. Hard light produce harsh highlights and hard/strong shadows because of the high intensity of the light, Whereas on the other hand, soft light produces smooth/gentle highlights and smooth shadows because of the nature of the light. You can see the darkness on the right side of the old man but not in the case of that model(right picture in comparison).
RIM LIGHT :
We don't often see this case. Rim light is nothing but "placing your light source in such a way that you can see the light running on the outline/edges of the subject". It should be specially created in a studio or we can achieve on the outdoors. But outdoors is always challenging compared to studio. So most of the rim light set up is done with a artificial source.
It may sound like sillhoute but it's not. In the case of sillhoute the background is visible and the subject looks like black body. In the case of rim light, background may/may not be black( but most cases black). Unlike sillhoute, you can see very able to see few details of the subject. The main difference is, you can only see the light tailing on the edge/s of the subject.

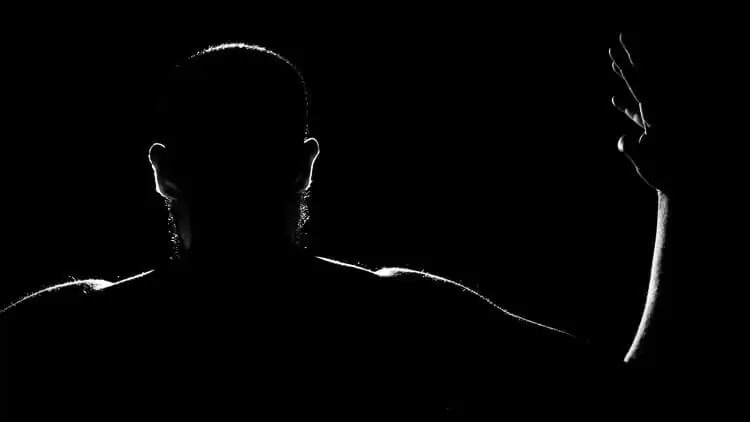
In both of the above pics, you can find that, you can't see your subject's face or any other details except their body outline. You see we can vaguely say that, the light source could be a point source and lying close behind the subject. In both of the cases, our assumption of point source would be supporting.
LOOP LIGHT :
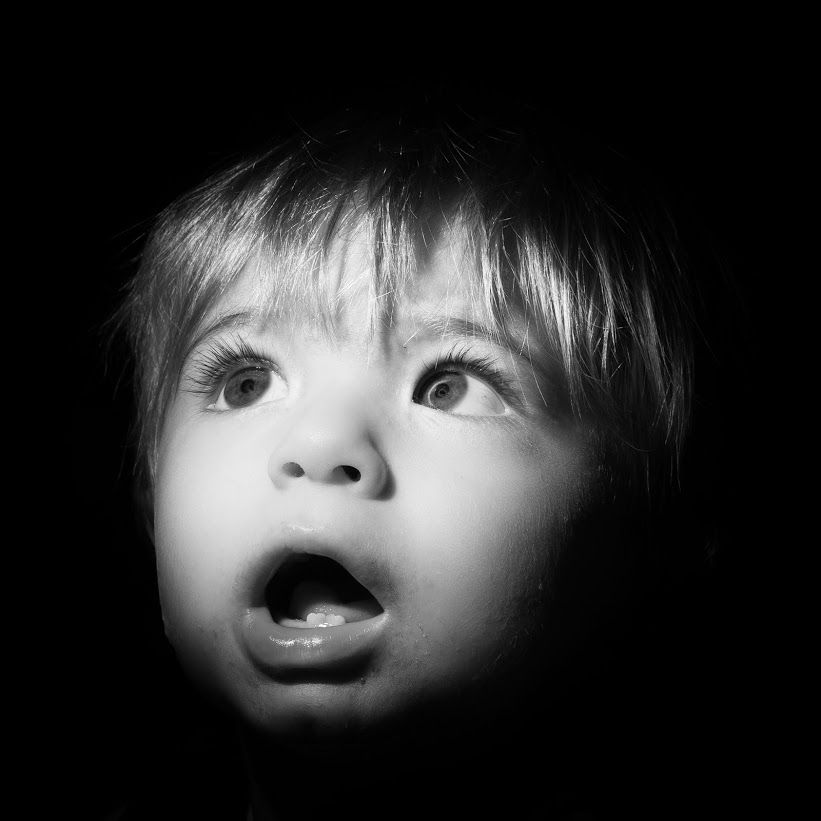
Going through the definitions from a couple of websites would give an insight to the loop lighting. "This lighting pattern will create a shadow that loops down and around the side of the nose, and on the neck and under the chin. These shadows subtly help define the subject’s bone structure". "Loop lighting is a portrait lighting pattern where the subject is lit from about 45 degrees in front of them and above. This creates a nose shadow that 'loops' down at an angle onto their cheek. It is a slightly directional lighting pattern - the light is not flat, but the face is still mostly illuminated".
Both eyes are generally well lit, and the overall aesthetic is generally pleasing and casual.

You can see, the left side of her face is well lit, but the right side looks dim. Because of the loop shadow under the nose, we can observe the structure more deeply.
TAKEAWAY NOTES :
- Hard light is used when you want to highlight texture.
- Hard light creates hard and sharp shadows. To emphasize the structure of your subject, it would be a good choice.
- Rim light is used when only you want to highlight your subjects outline.
- In the case of rim light, background and subject details are not primary.
- Loop lighting is used mainly to highlight eyes region.
NEXT-UP :
- DIVISIONS OF LIGHT : PART - 3

Comments
Post a Comment